Happy New Years, my friends and readers! These last few months have been a bit on the busy side, and the hustle and bustle of the holidays is settling down a bit. I wanted to use this post to catch you up on some great sock patterns that Virginia published that didn’t make it to the blog… not for lack of wanting to try.
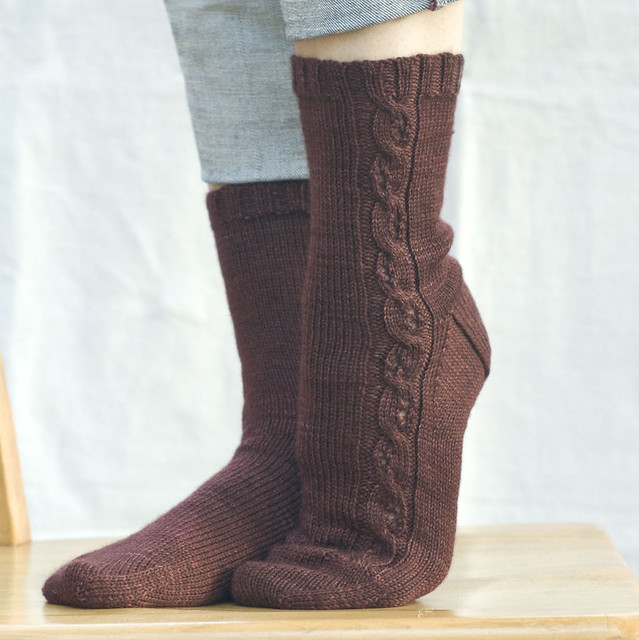
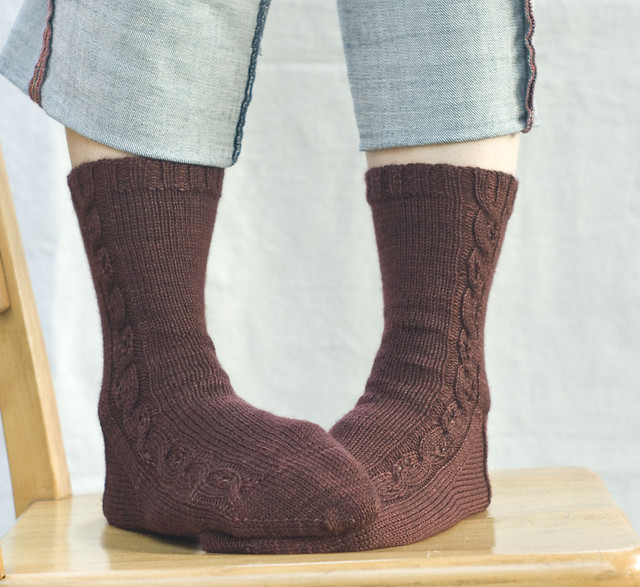
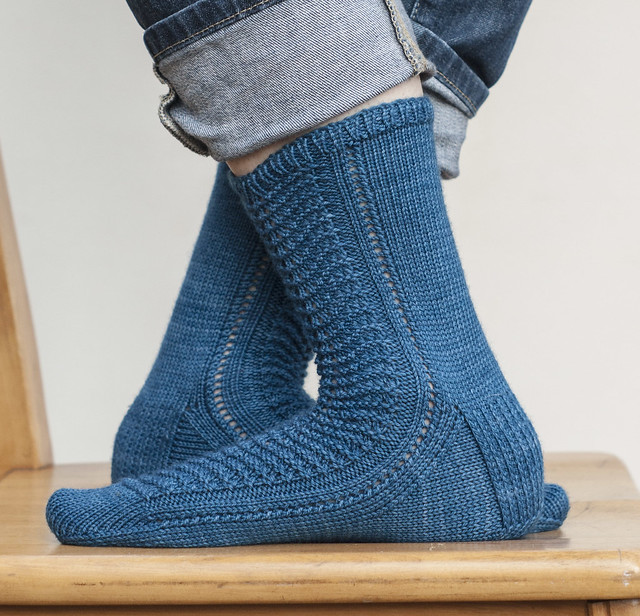
Shortbread Socks

These cozy, sport weight socks are a quick knit, and a classic addition to any wardrobe. Pattern is available here.
Devi Socks
If you’re a fan of SweetGeorgia Yarns, this sock pattern uses their Tough Love sock yarn. Pattern available here.
Essential Socks
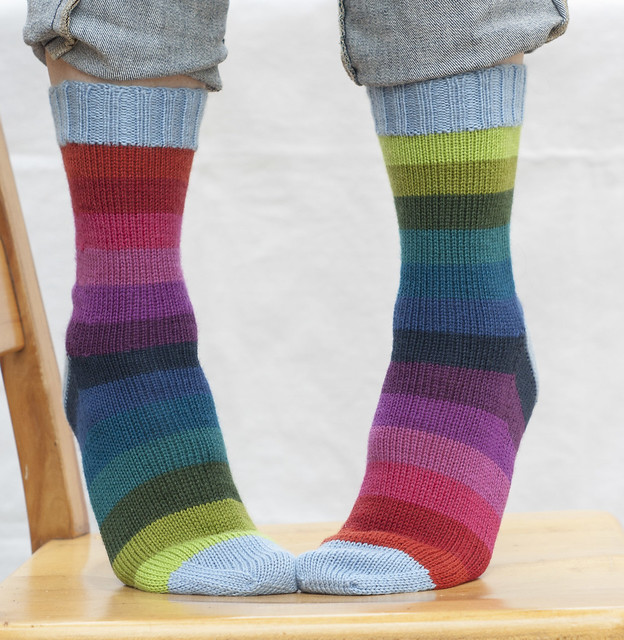
The Essential Sock is a basic, go-to pattern for top-down, heel flap socks. Pattern is written for fingering weight yarn. Socks are shown in a variety of Cascade Heritage colors. Color names and numbers are provided in the pattern. This is a great way to use up leftovers, or if you’d like an excuse to buy an armful of your favorite Cascade Heritage colors, this is it! Of course this pattern can also be made with your favorite self patterning yarn, or just a solid color, if that’s your jam. Pattern available here.